
Remember, no matter what, it is straight forward.
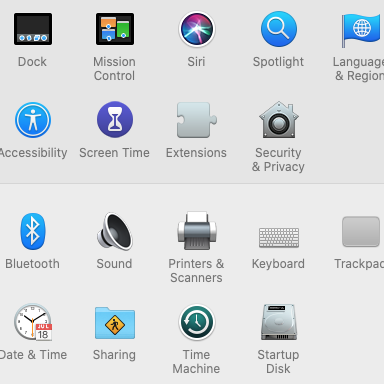
In the System Preferences,
open
the Printer&Scanner function.
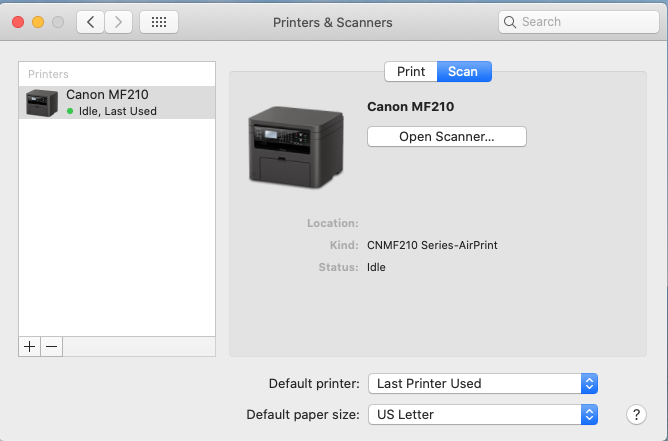
Click on the Scan option
Make sure that the Printer,
here the Canon MFT210 is
Idle, Last used
and with a green spot.
Place the document and
Click on Open Scanner
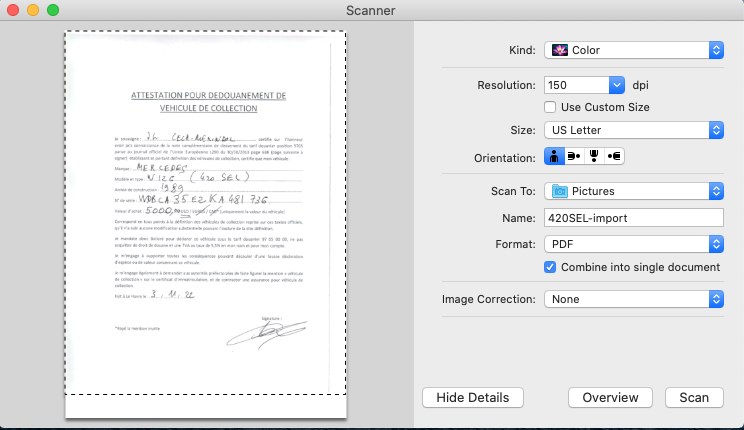
The scanner starts and produces a Preview.
Check the setup from top to bottom
- Kind : Color or Black and White
- Resolution : Ideal is 150 dpi like a normal printer
- Avoid Custom Size, leave blank unless you want to scan a picture
- Size : US Letter for most of the documents
- Orientation : Head up is the way to go
- Scan To : Select the directory where you want the scan result
- Name : Assign a file name. For example Taxes or HOA…
If you create multiple scans, a number will be assigned to each scan. - Format : for documents PDF is the way to go.
For pictures, chose JPEG - Combine to single document : ideal for multi sheets documents.
- Image Correction : None unless you have a post Doctorate in Computer Imaging.
When OK, Click on Scan
The First Page of the scanned document is now in the selected Directory.
Insert the next page and Repeat.
The second page….
Should you fail, send me an Airline Ticket Business Class.
I’ll make it work!
Frog
94(1)